 |
| click on photo to enlarge |


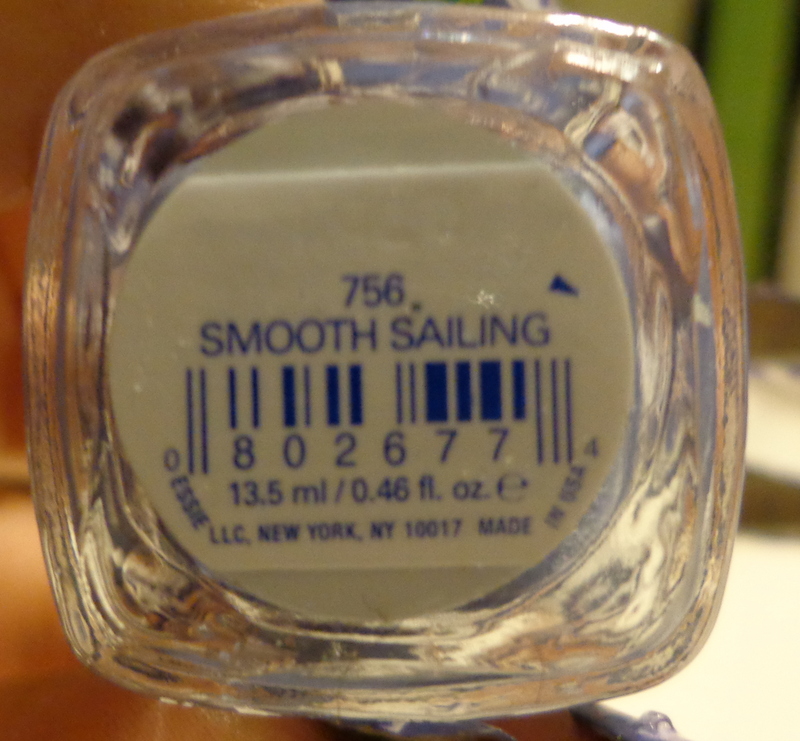
1) I started off by choosing the color "smooth sailing" by Essie. This gorgeous subtly shimmery periwinkle is one of my personal favorites. I love the formula and the coverage was completely opaque in two thin coats, with absolutely no streaks. I don't own a lot of Essie colors (since I won't pay the $8 for them I usually end up buying what they have at Ross for $3) but of the ones I do own the formulas are absolutely amazing to work, not watery or streaky at all, and are very long wearing.
2) for all my nails but the thumb I used white and dark purple water based acrylic paints that I purchased at Joann's Craft Store for $0.59 each, and a small flat top brush and dipped one side of the brush in white and the other side in purple and swept it diagonally across the tips to create the striped french manicure. I went over it twice to darken the colors
3)I added topcoat and applied a line of light purple 1 mm rhinestones under the stripes I created.
4) I added another layer of my favorite fast drying topcoat, NYC in a New York Minute in Grand Central Station over it all to seal in the rhinestones.
5) For the thumbs I used the same flat top brush I used for the other nails and loaded the brush in the same way (dipping half the brush in the white and half the brush in the purple) and moved the brush in a wave motion to create the petals of the poppies, making five all around.
6) Using a small size dotting tool and yellow and black acrylic paint I dotted the center of my flower with tiny overlapping dots to give it more dimension.
7) I added a purple 3MM size rhinestone to the center, and two light purple 1MM size rhinestones on the side. (these can be purchased very very easily and cheaply on Ebay! I got mine for $0.99 each with free shipping! Just go to ebay and search for nail art supplies)
8) Using the same one stroke technique I created a few leaves on the side of the flower.
9) I finished by sealing in the whole look with a good fast drying topcoat.
I hope you enjoyed this week's nail art design. Thanks so much for reading and have a great week.
2 comments :
Thanks for the informative article, it was a good read and I hope its ok that I share this with some facebook friends. Thanks.
of course! thanks for reading and sharing! :)
Post a Comment